
Length
Width
Thickness
Colour Tone
Profile
Material
Fire Rating
Range
Species
Wood Type
Warranty
Moisture Content
Cedar Cladding
Cedar cladding is western red cedar boarding for the outside walls of houses and extensions, naturally durable with no chemical treatment and light enough to carry single-handed. Choose 94×18 mm tongue and groove boards in the length that suits your wall, matching 44×44 mm L angles for the corners, or cedar shingles sold by the bundle. Held in our Dublin warehouse for collection or delivery across Ireland.
Sort by
Showing 1-4 of 4 results
What cedar cladding is and when to choose it
Cedar cladding is a skin of western red cedar boards fixed over the outside walls of a house or extension. Our cedar comes from British Columbia in Canada and is graded Clear Heart Vertical Grain, the top commercial grade, so the grain runs straight and tight with very few knots. It is Durability Class 2 on a scale that runs from Class 1, the most naturally resistant to rot, down to Class 5, so it resists rot, insects and fungal decay with no chemical treatment at all.
Its other big advantage is weight. At around 380 kg per cubic metre it is the lightest board we stock, so one person can handle long lengths and the load on the battens stays low. Cedar is the wrong choice where the wall will take knocks, such as beside a driveway, because its soft surface marks more easily than a hardwood. It also needs stainless fixings, as its tannins stain black against mild steel.
Cedar cladding boards, trims and shingles
The range covers the whole wall: boards for the face, angles for the corners and shingles for a textured finish. Every piece is western red cedar, so the colour and grain match from one part of the job to the next.
Cedar tongue and groove boards
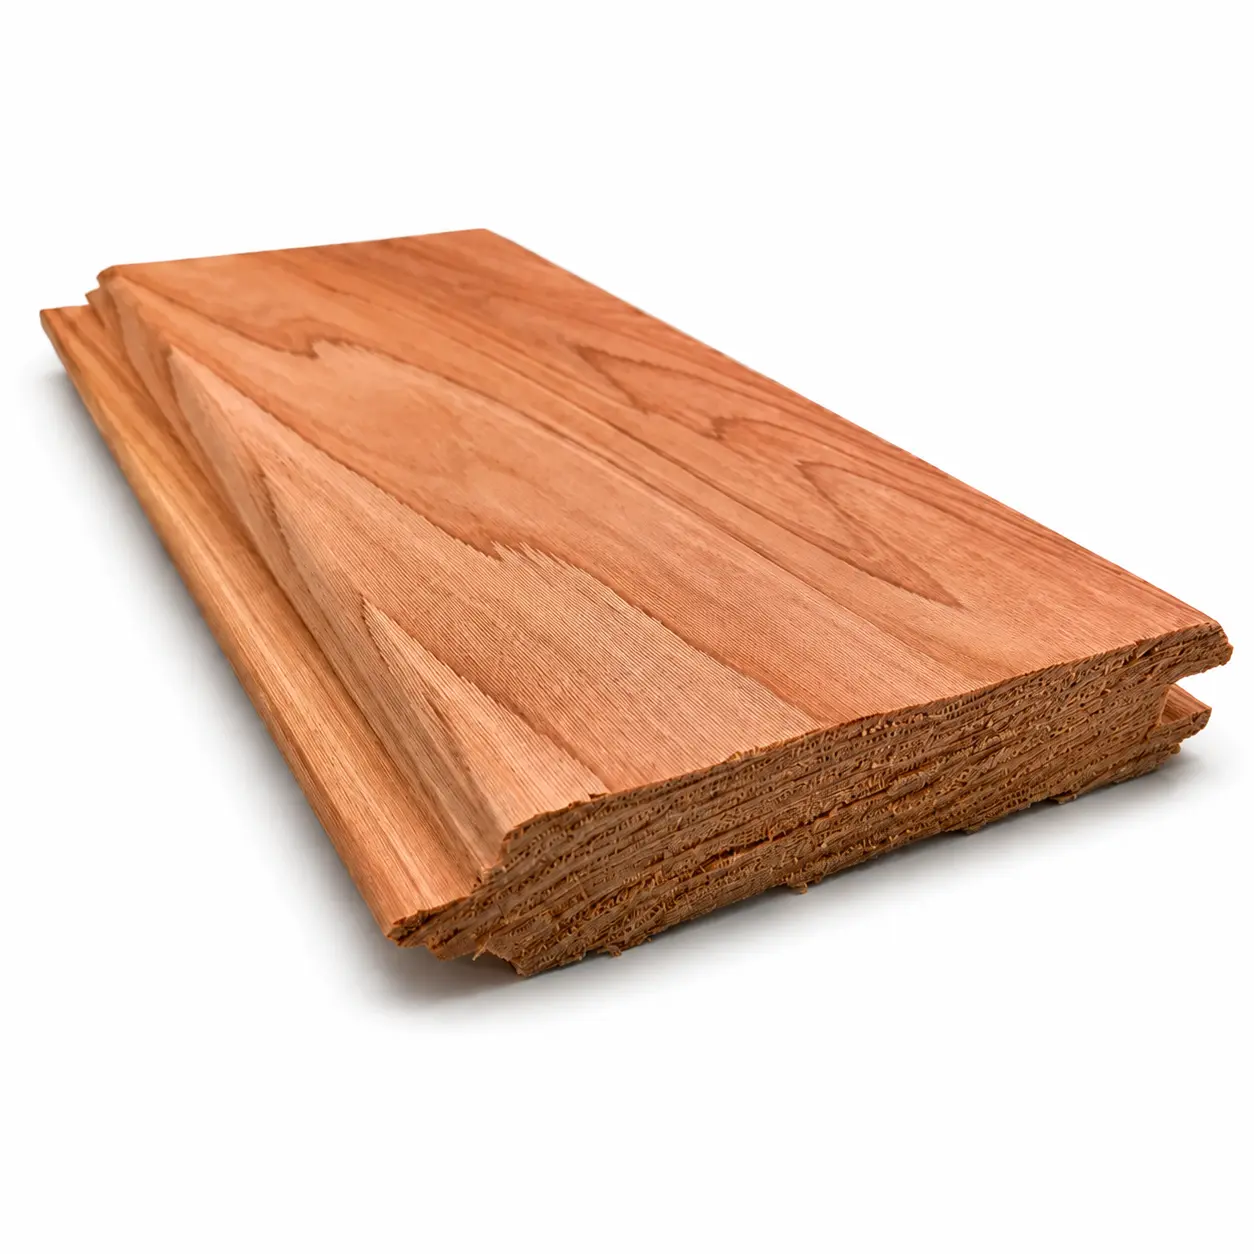
Our cedar boards are 94×18 mm tongue and groove (T&G): a tongue on one edge locks into a groove on the next, so the wall reads as one flush face and the joints stay tight. They can run vertically or horizontally, on anything from a single-storey wall to a tall gable. You choose the length on the product page, and matching it to your wall means less cutting and fewer end joints: shorter boards suit garden walls, bays and the panels under and between windows, mid-length boards suit single-storey walls fixed vertically and shorter horizontal runs, and longer boards give long horizontal runs and tall gables the fewest end joints.
Cedar L angles for corners
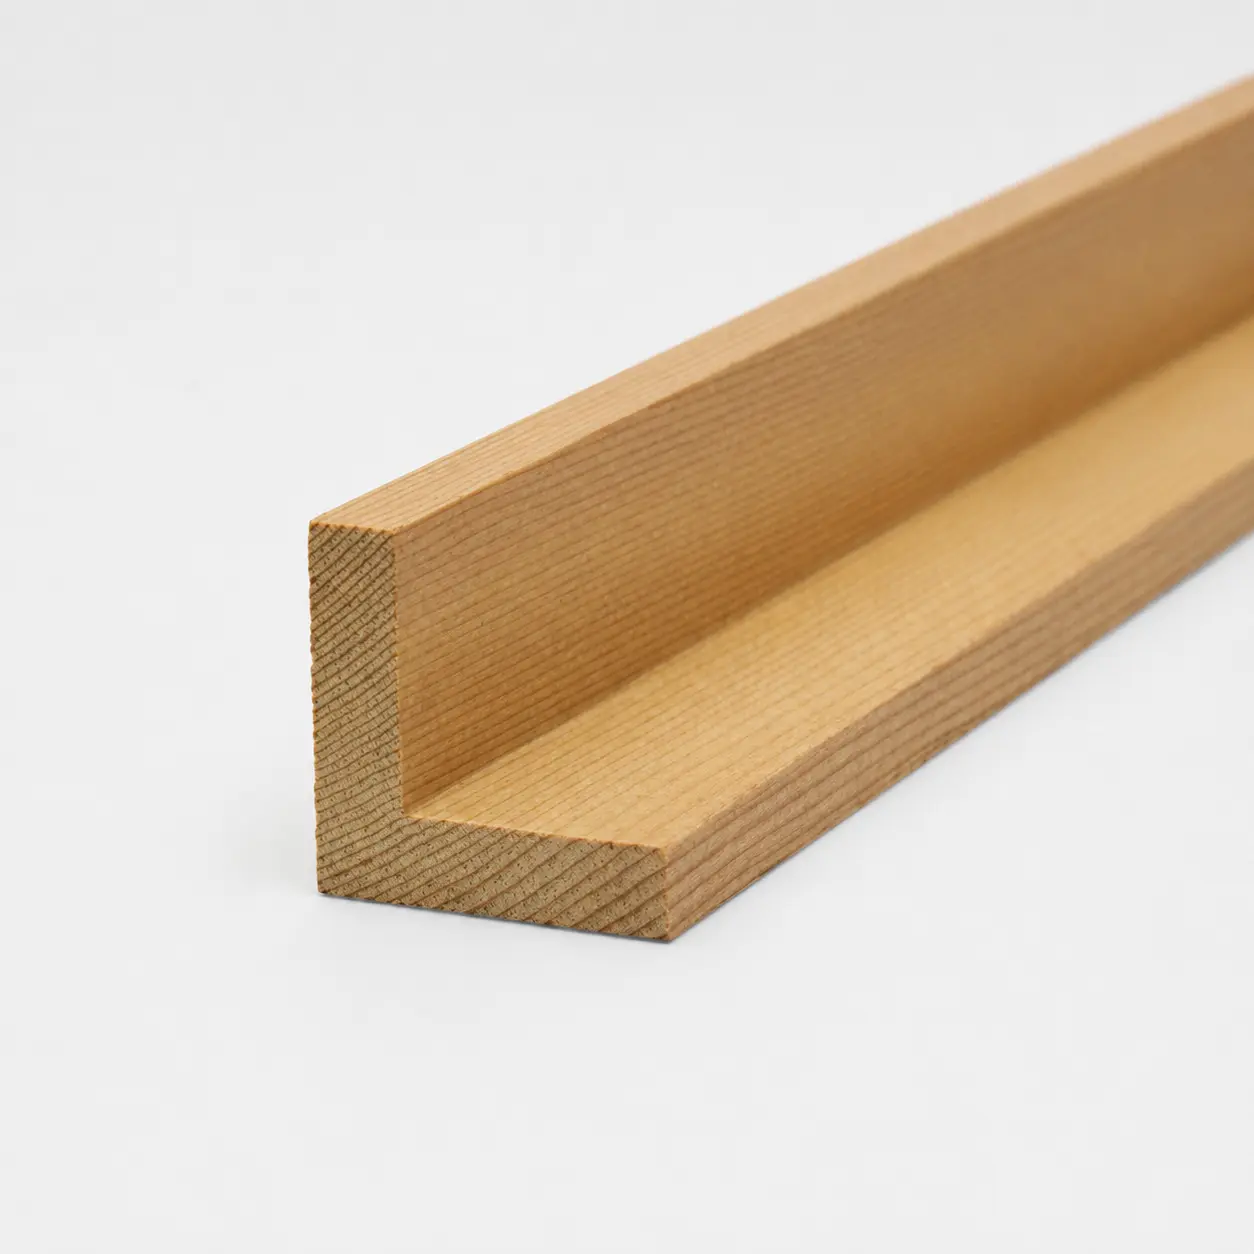
Corners are where cladding looks finished or doesn’t. Our cedar L angles are 44×44 mm and fit internal or external corners so the board ends are covered, in the same timber as the boards so the corners weather with the wall.
Western red cedar shingles
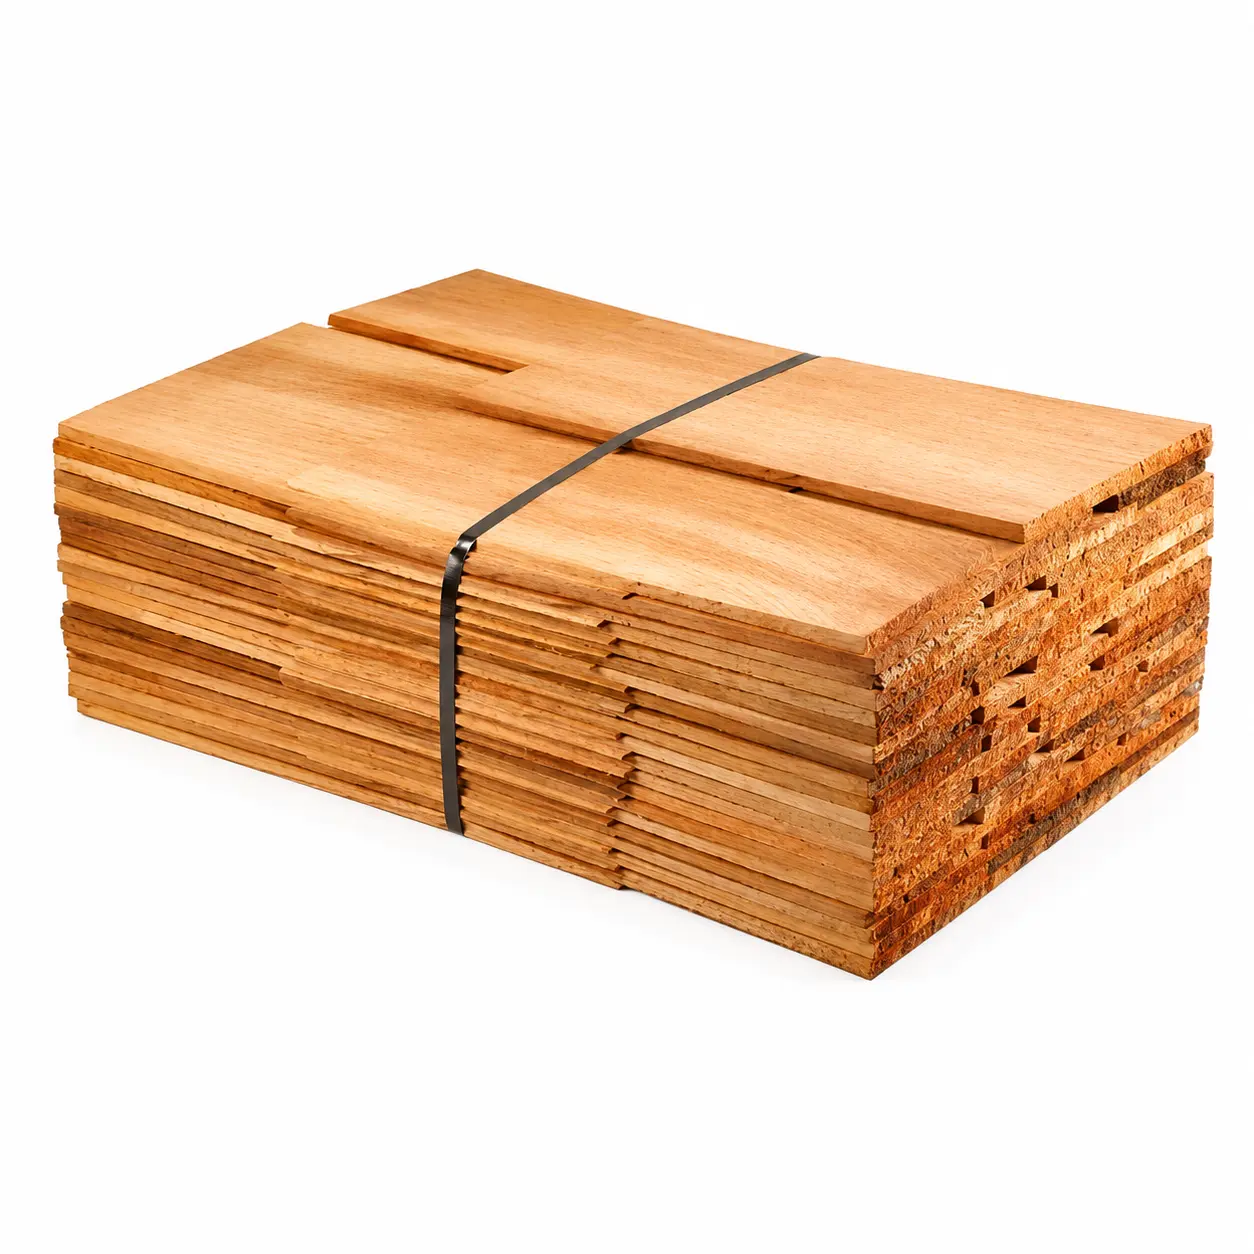
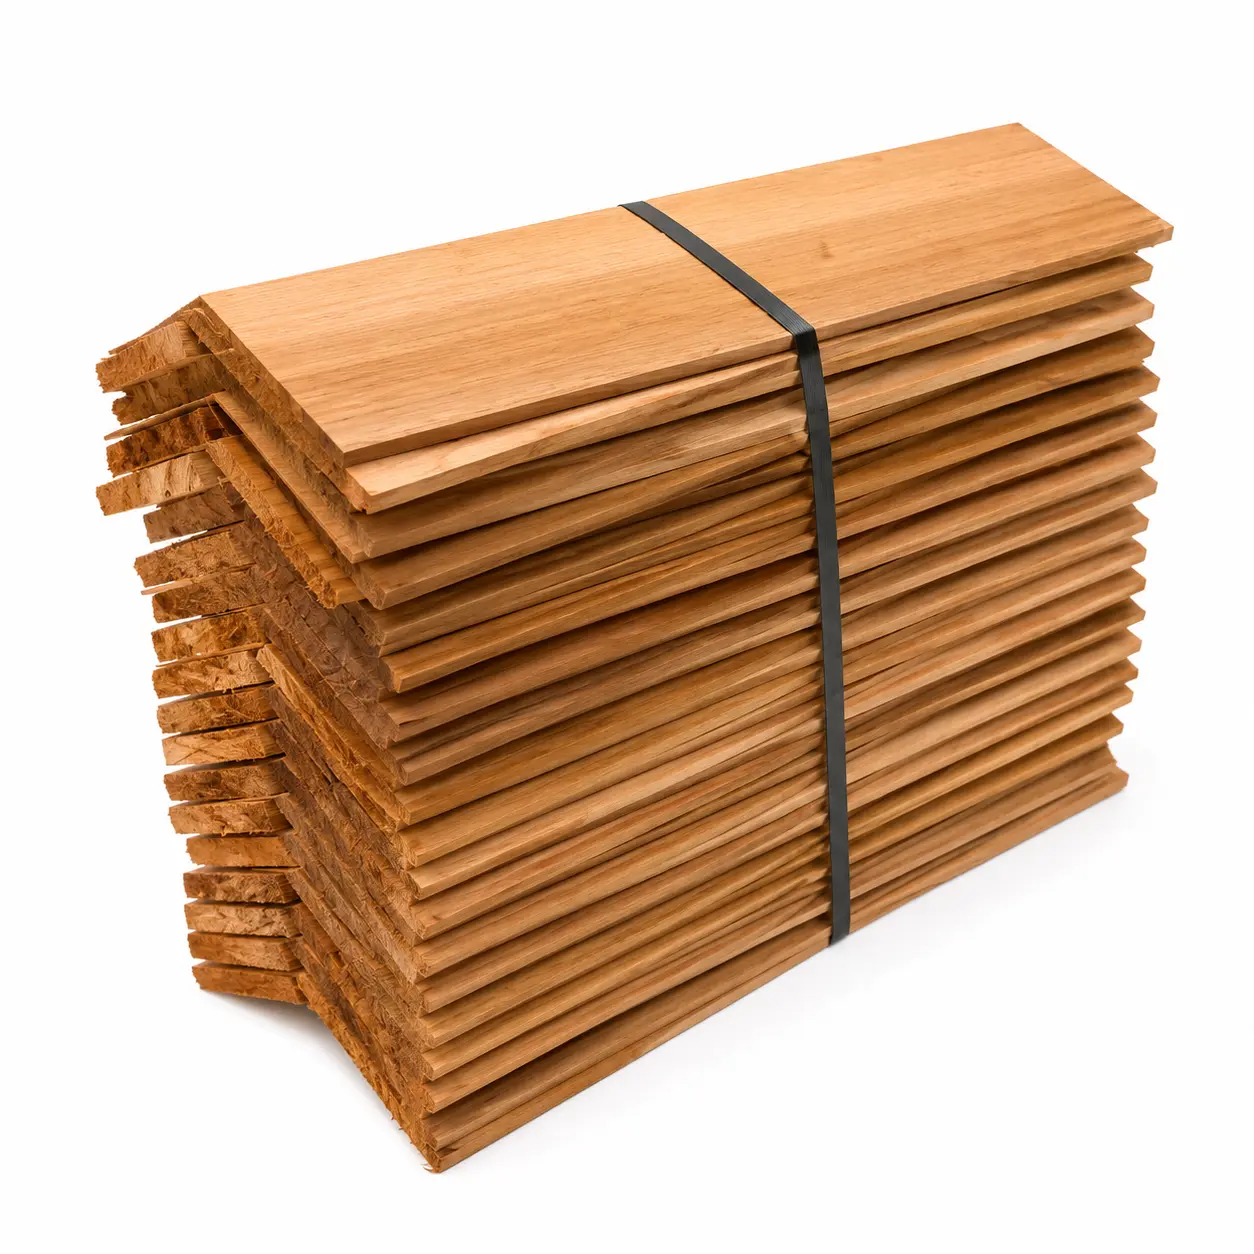
Shingles are small tapered pieces of cedar laid in overlapping courses, for a textured, scaled finish instead of long lines. Our western red cedar shingles are sold in bundles, and each bundle covers 2.32 m². That is a fixed pack size, like a roll, so you order shingles by the bundle rather than by the piece. Cedar ridge shingles finish the ridge of a roof. The exposure, the part of each shingle left showing, is set by the pitch: typically 100 to 150 mm on a steep roof.
Cedar cladding price per m²
Live prices are in the grid above. Cedar costs more than the value softwoods, Douglas fir and Ecowood, because it is a naturally durable species graded for very few knots. In return it doesn’t need preservative to last, but it weathers to silver grey, so most people oil it to keep the warm colour. Within the range, the longer the board, the higher its price.
Boards are sold by the length, so the fair way to compare the options is by the cost of the finished wall rather than the price of one board. Enter your area in the calculator on the product page and it works out how many you need; the cart adds the fixings and extras.
Cedar vs larch cladding
Cedar and larch are the two species most people weigh up for a natural timber wall. Cedar is lighter, at around 380 kg per cubic metre against larch’s 590 kg, more durable at Class 2 against Class 3, and calmer to look at, with a straight grain and very few knots. Larch cladding is denser and livelier, with a warm reddish-brown colour and more knots. Both weather to silver-grey if left bare, so most people oil them to keep the colour.
If you would rather not have a timber wall that changes colour or needs oil, composite cladding comes in cedar-coloured boards and needs minimal maintenance. You give up the real grain and the natural silvering in exchange.
Installing and looking after cedar cladding
Cedar is easy to work: it cuts cleanly and planes to a fine finish. How long it lasts depends on the detailing, so get these points right:
- Ventilated cavity: fix the boards over cladding battens, which leave an air gap behind the cladding so moisture can escape.
- Stainless fixings (A2 or A4): use stainless ringshank nails or screws, never galvanised or mild steel, which react with the tannins and leave dark streaks. Screws and pins are in our cladding accessories.
- Pre-drilling: pre-drill near the board ends to stop them splitting.
- Expansion gaps: leave a small gap at every joint so the timber can move with the seasons.
- Corners: fix the L angles with stainless pins or screws at regular centres, mitre or butt the internal corners, and leave a small gap at the bottom of vertical runs.
After that, it comes down to colour. Cedar doesn’t need oil to last, but left bare it silvers within a year or two and needs an occasional clean with a soft brush and a diluted neutral cleaner, so most people oil it. To keep the honey-brown colour, apply a UV-protective oil from our exterior wood oils within the first few months, then refresh it every two or three years. Avoid paint, varnish and general-purpose stain: cedar’s oily surface repels them and they flake within a couple of seasons.
Cedar cladding in Dublin and across Ireland
Our cedar cladding is held in our Dublin warehouse. Collect your order there, or have it sent with delivery across Ireland. To compare cedar with Douglas fir, Iroko, oak, charred larch and the other species, browse our full timber cladding range.
Frequently Asked Questions About Cedar Cladding
How long does cedar cladding last?
Our product data gives western red cedar a service life of 30 years and beyond, untreated. It is Durability Class 2, so it resists rot, insects and fungal decay naturally. To reach that life, fix it over a ventilated batten cavity with stainless fixings and leave small expansion gaps at the joints.
Does cedar cladding need to be treated?
Cedar doesn’t need treating to resist rot: its natural oils protect it without chemicals. Left bare, though, it weathers from honey-brown to silver-grey within a year or two, so most customers oil it. A UV-protective oil from our exterior wood oils, applied in the first few months and refreshed every two or three years, keeps the warm colour.
Will cedar cladding turn grey?
Yes, if it is left bare. Cedar weathers from warm honey-brown to silver grey over about 12 to 18 months, so most people oil it to keep the fresh colour. Apply a UV-protective oil from our exterior oils and stains before the greying starts, then refresh it every two or three years.
Can cedar cladding be fitted vertically?
Yes. Our cedar T&G boards run vertically or horizontally over a ventilated batten cavity. Vertical boards draw the eye up a tall wall or gable, while horizontal boards make a long, low elevation. Whichever way you run them, pre-drill near the ends and use stainless fixings.
How are cedar shingles fixed?
Lay the shingles in overlapping courses. Fix each one with two stainless steel pins set above the line of the next course, so the fixings stay hidden, and leave a 3 mm gap between neighbouring shingles to allow for movement.